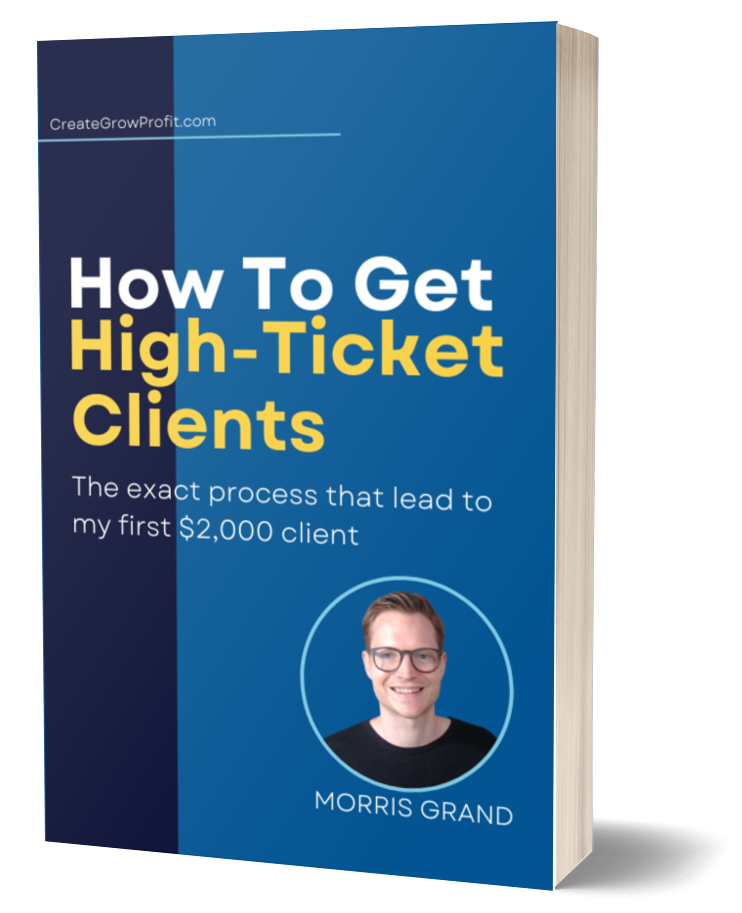
I have a 20% conversion rate on this landing page here, and I’m going to show you how you can rebuild this page with a FREE tool called Aweber.
First things first, here is the screenshot from MY Aweber account, so you can see here the 20% conversion rate on this opt-in form.
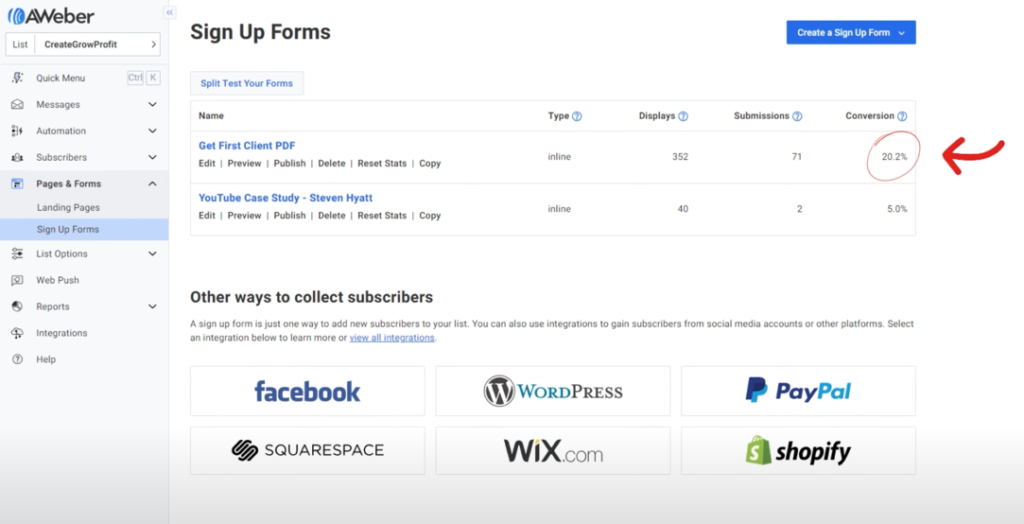
The conversion rate used to be higher but then I started sharing this link on Twitter, which meant more clicks but also less qualified traffic, but I’m still very happy with 20%.
So don’t forget that the performance of your landing page not only depends on the page itself, but also depends on which type of traffic you send there.
High-quality traffic leads to higher conversion rates and vice-versa.
Building a Landing Page in Aweber Account
Create a FREE Aweber Account
I use Aweber for the opt-in form and I built the landing page with WordPress. But for WordPress, you need to buy a domain name and pay for hosting, which means it costs money.
That’s why I want to show you how to re-build exactly this landing page with Aweber, because with Aweber you can do it all for FREE.
Here are the steps for creating a FREE Aweber Account:
Step 1: Go to aweber.com and click on ‘Get Aweber Free’.
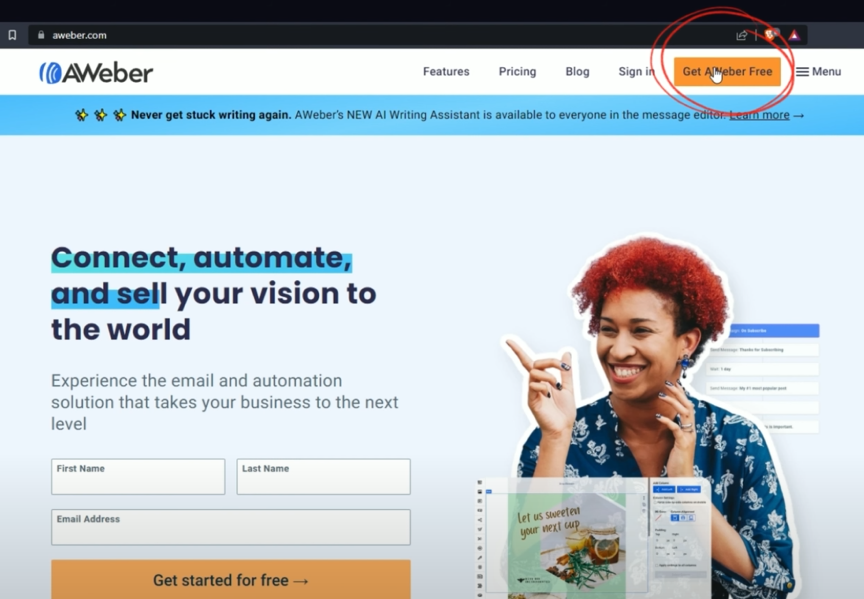
Step 2: Enter your name and email address to create your account.
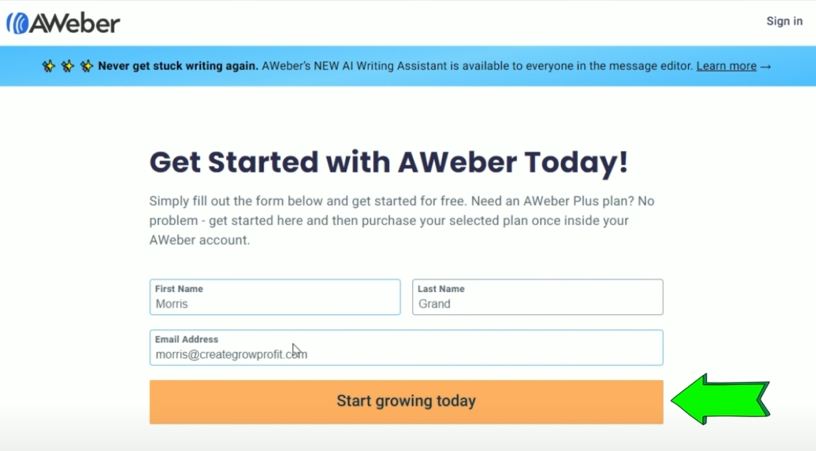
Step 3: Pick the free plan and continue with the Sign Up Process until your account is set up.
Step 4: Once done, you will see your Aweber Dashboard.
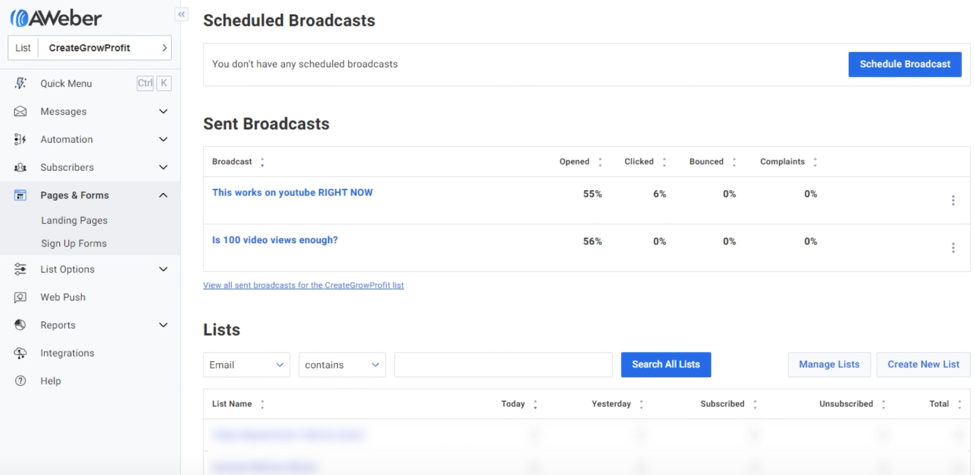
Start a New Landing Page
Once you have an account, you can now create a new landing page.
Step 1: Look at the menu on the left-hand side of the screen, and click on ‘Pages & Forms’.
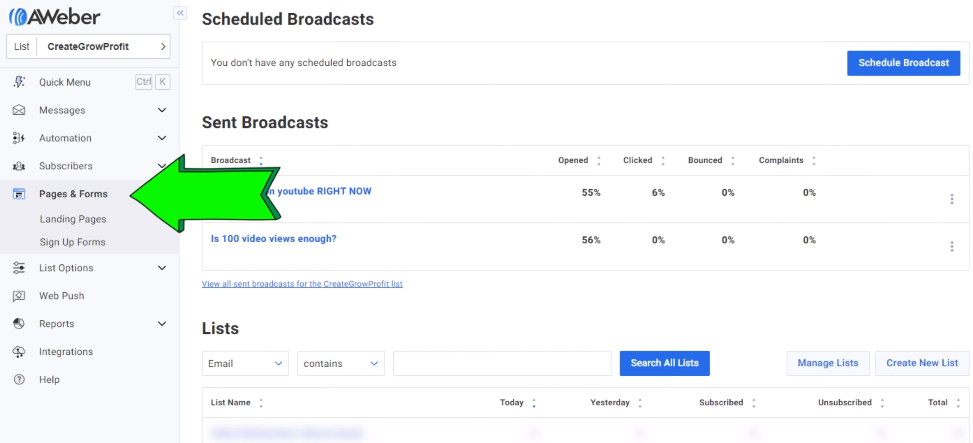
Step 2: There, you click on ‘Landing Pages’.
Step 3: On this page, click on the blue button in the top-right corner that says: ‘Create a Landing Page’.

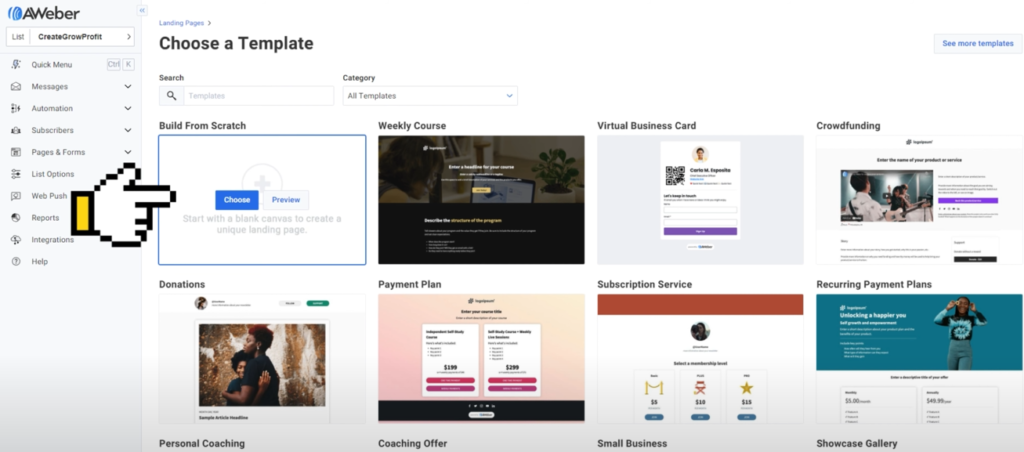
Step 4: And even though there are many pre-built landing pages, we’re just going to start with a blank one. So go to the first one here that says ‘Build From Scratch’ and click on ‘Choose’.
Build From Scratch
Step 1: Go to ‘Build From Scratch’ and click on ‘Choose’. On your Scratch Landing page, give it a name, for example, Ebook Landing Page if you also want to give away an ebook.
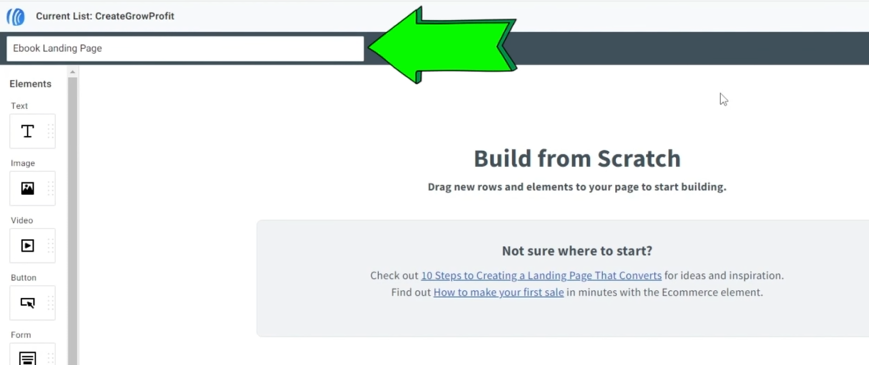
Step 2: Remove all of the unnecessary elements on your Scratch Landing Page. Hover the element to see the delete button and click ‘Delete’. Delete everything.
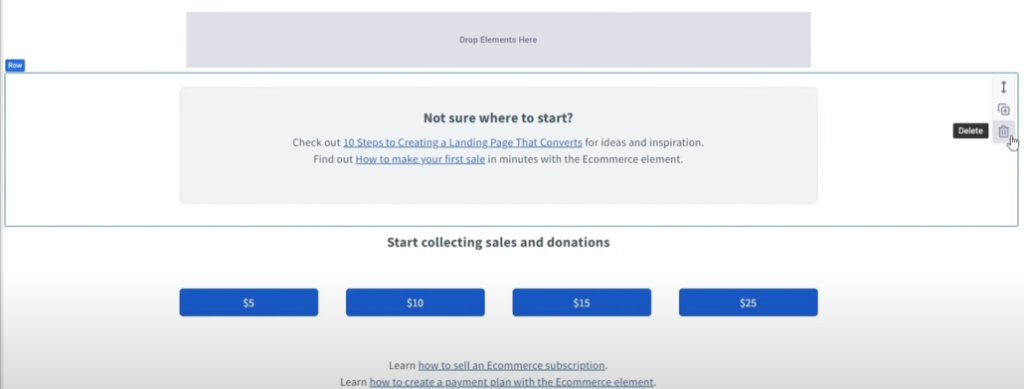
Step 3: You are going to be left with a ‘Single Row’.

Step 4: The Single Row will be used for the Title. So pick the ‘Text Block’ on the left side.
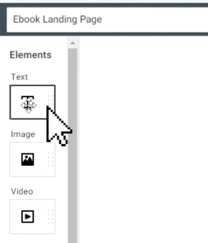
Step 5: Drag it inside the row where it says ‘Drop Elements’. Write in here the Title for the Landing Page which means it’s going to be the name of the thing that you will be giving away.

Essentially, it is the name of the free ebook and ideally, the name of your free ebook is also going to describe the result that people get from your free book.
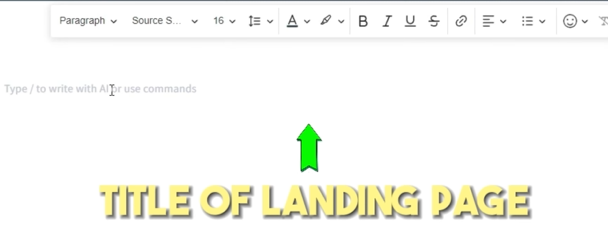
Step 5: Then, highlight the Title. Go up and change from ‘Paragraph’ to ‘Heading 1’. You can also put it in the ‘Center’ so it looks nice.

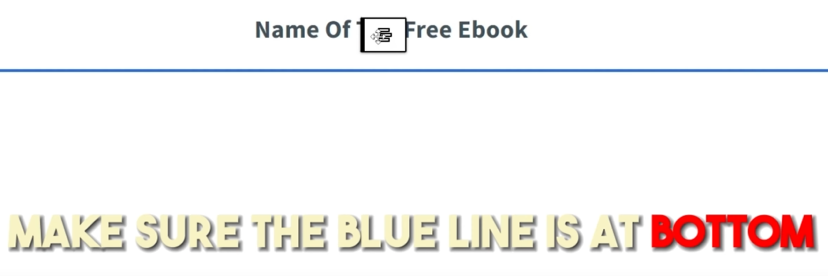
Step 6: Next, we add another row. At the bottom left, pick the ‘Row Block’ and move inside the page.

Step 7: A blue line will appear and make sure that the blue line is at the bottom, then let go.
Inside the row you just created, you can add the ebook picture on the left and the opt-in form on the right.
We need two columns, and you can easily do that by going to the right side of your page.
Step 8: Make sure to click the row that you added. On the right side, you can see the ‘Add Column’, just click on ‘Add Left’.

And now, you have two columns in this row.

Step 9: For the Left Column, you may put the image of the book. And to do that, on the left side, pick and drag the ‘Image Block’ inside the Left Column then let go.

Step 10: For the Right Column, we have the Title of the form as well as the form. So click and drag the ‘Text block’ first inside the Right Column. You can now write the title for your form.

In my case, I just repeat the name of this free ebook and again, ideally, the name is also the result that they get after reading your book. So mine is, “Get Your First Client Online”, that is the result people get from reading my book.
But you can try using “Desirable Result From Your Book’.
Step 11: Then click Shift+Enter to go to the next line inside the same text block, and in parenthesis, you can write “FREE Guide”. Then highlight the text here and make sure it is Center Aligned.
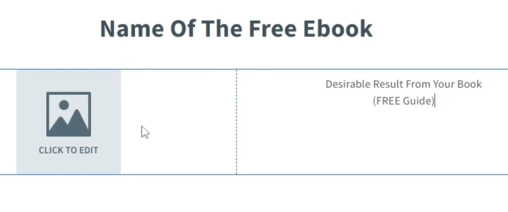
Step 12: Now we can add the ‘Form Block’. On the left side, find the ‘Form Block’, then click and drag it right below the text where you can also see the blue line then let go.

You’ll see that the Form Block is right below your Title. You may want to make the first line Bold and you’ll notice that it is already starting to look like my landing page that is currently converting at 20%.

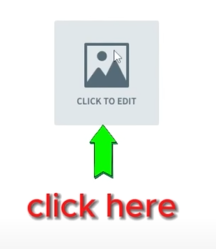
Step 13: Next, you want to upload the image of your book. On the Left Column, click on the Gray Box where it says “Click to Edit” for the image.
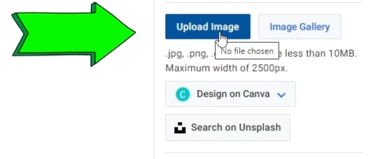
Step 14: Then on the right side, you can click on ‘Upload Image’ and then find the picture of your book. Let it load, you can actually see a loading bar and when it’s uploaded, you will see the photo now.
Step 15: Again, click on the image to make sure that the settings on the right hand are for the images. Then down where it says ‘Sizing’, you can adjust the picture if it is too big or not.
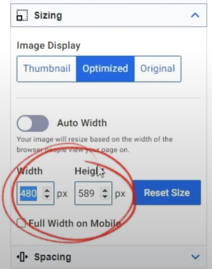
In my case, you can remove the ‘Auto Width’ and reduce it like 360 or 340. I just want to make sure that the height of the book image is more or less the height of the opt-in form so that these two columns have a similar or almost the same height.
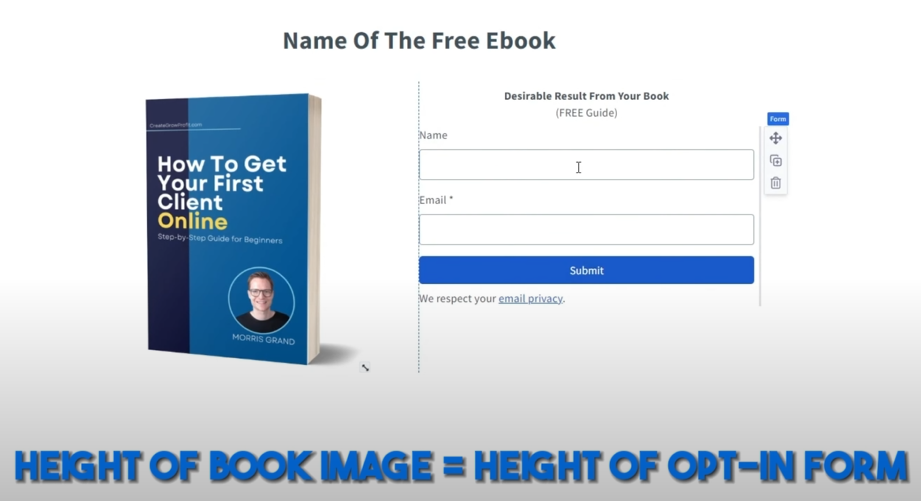
If you have a good title for your book and a nice image, this already goes a long way but we also want to add a little bit of copy below for those who need more information. To do that, let’s start by adding another row at the bottom.
Step 16: On the bottom left, pick the ‘Row Block’ again. Make sure the blue line is below at the bottom so you add it below the image and the form, then let go.

Step 17: The next row will appear right below your image and opt-in form. Inside that row, click and drag ‘Text Block’ to insert your message.

For your first line, you can use this template,
Are you a [your avatar] looking to [desirable result]?
Note that for the first line, you may want to write who your target reader is. In my case, it’s coaches and consultants. For you, it could be a parent or a solopreneur, or new founder, or whatever you use to describe your target audience or your avatar.
After that, include your desirable result.
Just like these:
Are you a coach or a consultant looking to find your first client online? Or
Are you a single man looking to find your dream girlfriend?

For the second line, you can write:
Inside this FREE Guide, you discover how to [desirable result] without [something they really want to avoid]:
In my case, it is something like this:
Inside this FREE Guide, you discover how to find your first client online without paying for any ads.
Other examples are:
For weight loss,
Inside this FREE Guide, you discover how to lose 5 pounds of belly fat without starving yourself.
For a dating book,
Inside this FREE Guide, you discover how to find a beautiful girlfriend without using any online dating apps.
Highlight the second line and make it bold.

For the third line, add two bullet points. To add, just press the Dash or the Minus Key on your keyboard and then space and it will turn into a Bullet Point, then you can start writing.
For the first bullet point, add this:
When you learn how to [an important step in your process], you’re 90% of the way there.
For the first bullet point, you need to share an important step in your process that they can learn from your book.
For instance, for a weight loss book,
When you learn how to reduce the carbs that you eat, you’re 90% of the way there.

Then the second bullet point says,
But there is one crucial mistake you absolutely must avoid, else this strategy won’t work for you.
It can be strategy, technique, process, or whatever is applicable to your book.

For the fourth and fifth lines, you can write:
Inside this short guide, you will have the entire process written out step-by-step in one single document.
Enter your name and email address above, and I’ll send you the guide directly to your inbox.
Make the last line BOLD. And this is the Copy based on the landing page that I am using right now with 20% conversion.

Adding A Photo of Yourself with Your Name
Below that, you may want to show a photo of yourself with your name. Here’s how to do it:
Step 1: First, make sure that the blue line is at the bottom.
Step 2: From the bottom left, pick the Row to add another Row.
Step 3: Take the ‘Image Block’, click, and drag inside the Row.
Step 4: Click on the Gray Image, then click Upload Image and find the photo that you want to upload.

Mine is way too big and personally, I want it on the left side so here are some ways to help you achieve that.
Step 5: Click on the Image and you’ll see on the Right Side the Properties or Settings for this image.
Step 6: Go down to Sizing if you want to change the size like I do. Here, Thumbnail works for me.

Step 7: You can also take off the Auto Width and change the pixel settings.
Step 8: You can also click the Spacing and change the alignment to the left.
Step 9: Finally, below the Image, we want to add a Text Block. Click and drag the Text Block below the Photo of you.
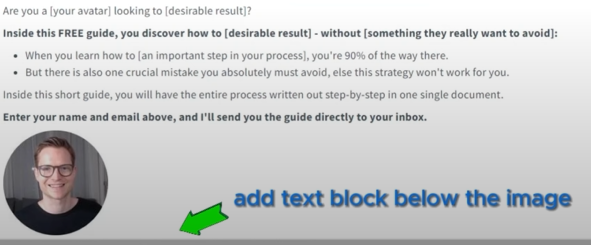
Step 10: Start writing your name. Just put your First and Last Name. You can make them Bold just like mine.
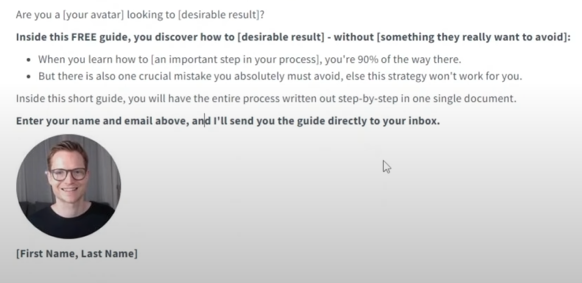
And voila! Here’s the landing page created inside Aweber where you can do it for free. Again, it is based on my landing page with the same Copy.
Now it’s time to connect this to your email list inside Aweber so you can collect the leads and send them emails and also send them the book.
How To Connect This To Your Email List?
Step 1: Click on the Form.
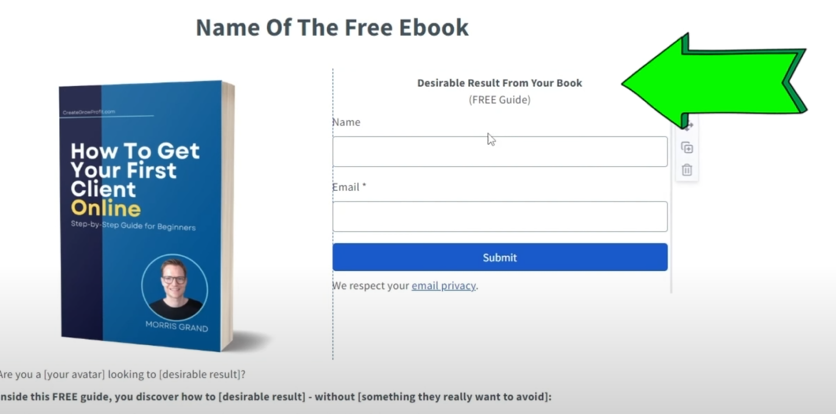
‘Step 2:‘ On the Right Side, you can see all the Settings for the Form. You can switch to Submission. On the Submission Setting, you can see what happens when someone submits the form.

Right now, they’re being redirected to a “Simple Thank You Page” that Aweber created for you. You can click the ‘Preview’ so you can see what it looks like.
It says,
“You’re almost done. Activate your subscription! We’ve just sent you an email with a confirm link.”
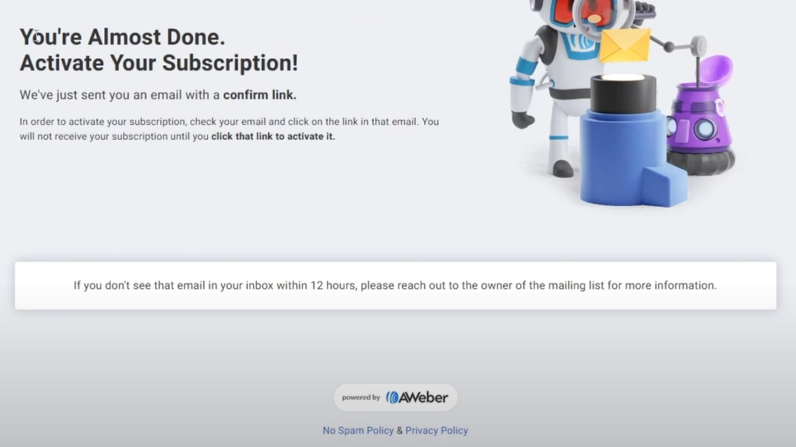
This is important for the Double Opt-in Rule. By default, Aweber has it enabled for you. You can turn it off in the Settings but I suggest to leave it on.
So how it exactly works?
- Once they enter their name and email address, the ‘Thank You Page’ will load.
- They need to go to their Inbox to confirm their email address.
- They will get an email from you (automated by Aweber with the link to your book).
TIP: An easy way to do that is just to change to ‘Custom URL’ and forward them to your PDF Book on your Google Drive.
For example, in my case, I use the public Google Drive Link of my PDF for my guide. So I can switch the ‘Thank You Page’ to my ‘FREE Guide’.
Here’s how:
Step 1: On the Submission Setting, go to ‘Custom URL’.
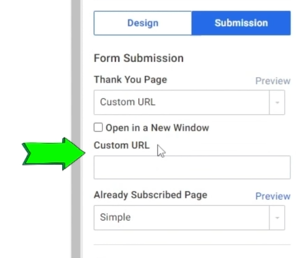
Step 2: Enter the Google Drive Link. So when somebody enters their name and email address, they will get directly forwarded to the PDF on my Google Drive.
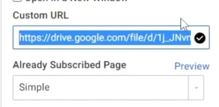
Step 3: Make sure that the link is available on PUBLIC.
Step 4: Click ‘Save & Exit’.
In short, the Double Opt-in Rule is working by making sure that your email list still needs to confirm their email address at the same time, your audience is getting your PDF book immediately as you promised from the start.
Publish Your New Landing Page
After saving and exiting, you will see the landing page we just created. You can also see the ‘Status’ in Unpublished.
To publish your landing page,
Step 1: Hover and go to the ‘Publish Icon’.

Step 2: Click the ‘Publish Icon’.
Step 3: A pop-up box will appear that says, “Your page is live and ready to share.”

Step 4: You can click the ‘Copy Icon’ to copy the link to your Landing Page.
Step 5: Click ‘Done’.
Anytime you want to get the link to your Landing Page, you can do these two things:
- Go back to the Landing Page Overview, click the ‘Copy URL to Clipboard Icon’; or
- Right-click, choose the ‘Open Link in New Tab’
And there you have it, you now have your Landing Page created with Aweber completely for FREE.
You can now start giving away your ebook and start collecting leads. Most importantly, as I mentioned earlier, my exact landing page that converted to 20% right now is the same as the landing page that we created now.
I am really hoping that if you follow these instructions and you create your landing page the same way that I did, you will have a similar conversion rate or hopefully even better conversion rate.
The next question is, How do you drive traffic to your newly created landing page?
One of the best ways to drive traffic is through Content Marketing. I have already created an entire series on Content Marketing. It is a Six Blog Series that you can read for your reference.
Learn some ways and techniques on how to drive traffic to your newly created landing page by checking out these articles:
- The 4 Best Content Marketing Strategies (With Examples & Templates)
- Content Marketing Part 2: Simple Strategy For Writers
- Why Use Short Videos for Marketing? | Part 3: Short-Form Video Content
- Does Long-Form Video Marketing Still Work?
- 5 Reasons To Start a Podcast As Soon As You Can
- How I Make Daily Content In Just 30 Minutes | Part 6 Content Marketing Strategies
Do you have any trouble creating your landing page in Aweber? Comment down any questions you have and let me help you resolve that trouble.
And don’t forget to subscribe on my YouTube channel, @creategrowprofit.
This FREE guide will show you the exact process that led me to signing up my first $2,000/mo client, back when I was starting out as a nobody. You can download this from my website at CreateGrowProfit.
Thank you and see you on my next blog!
